
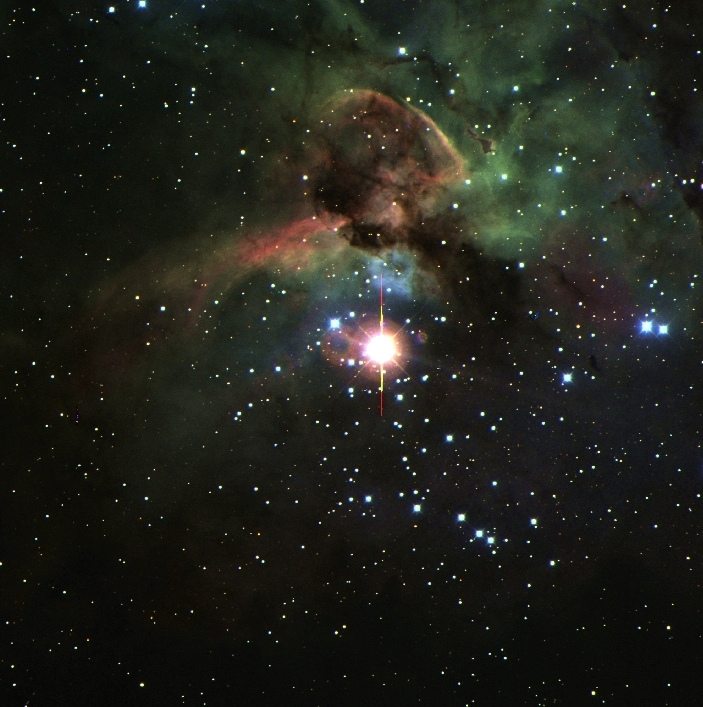
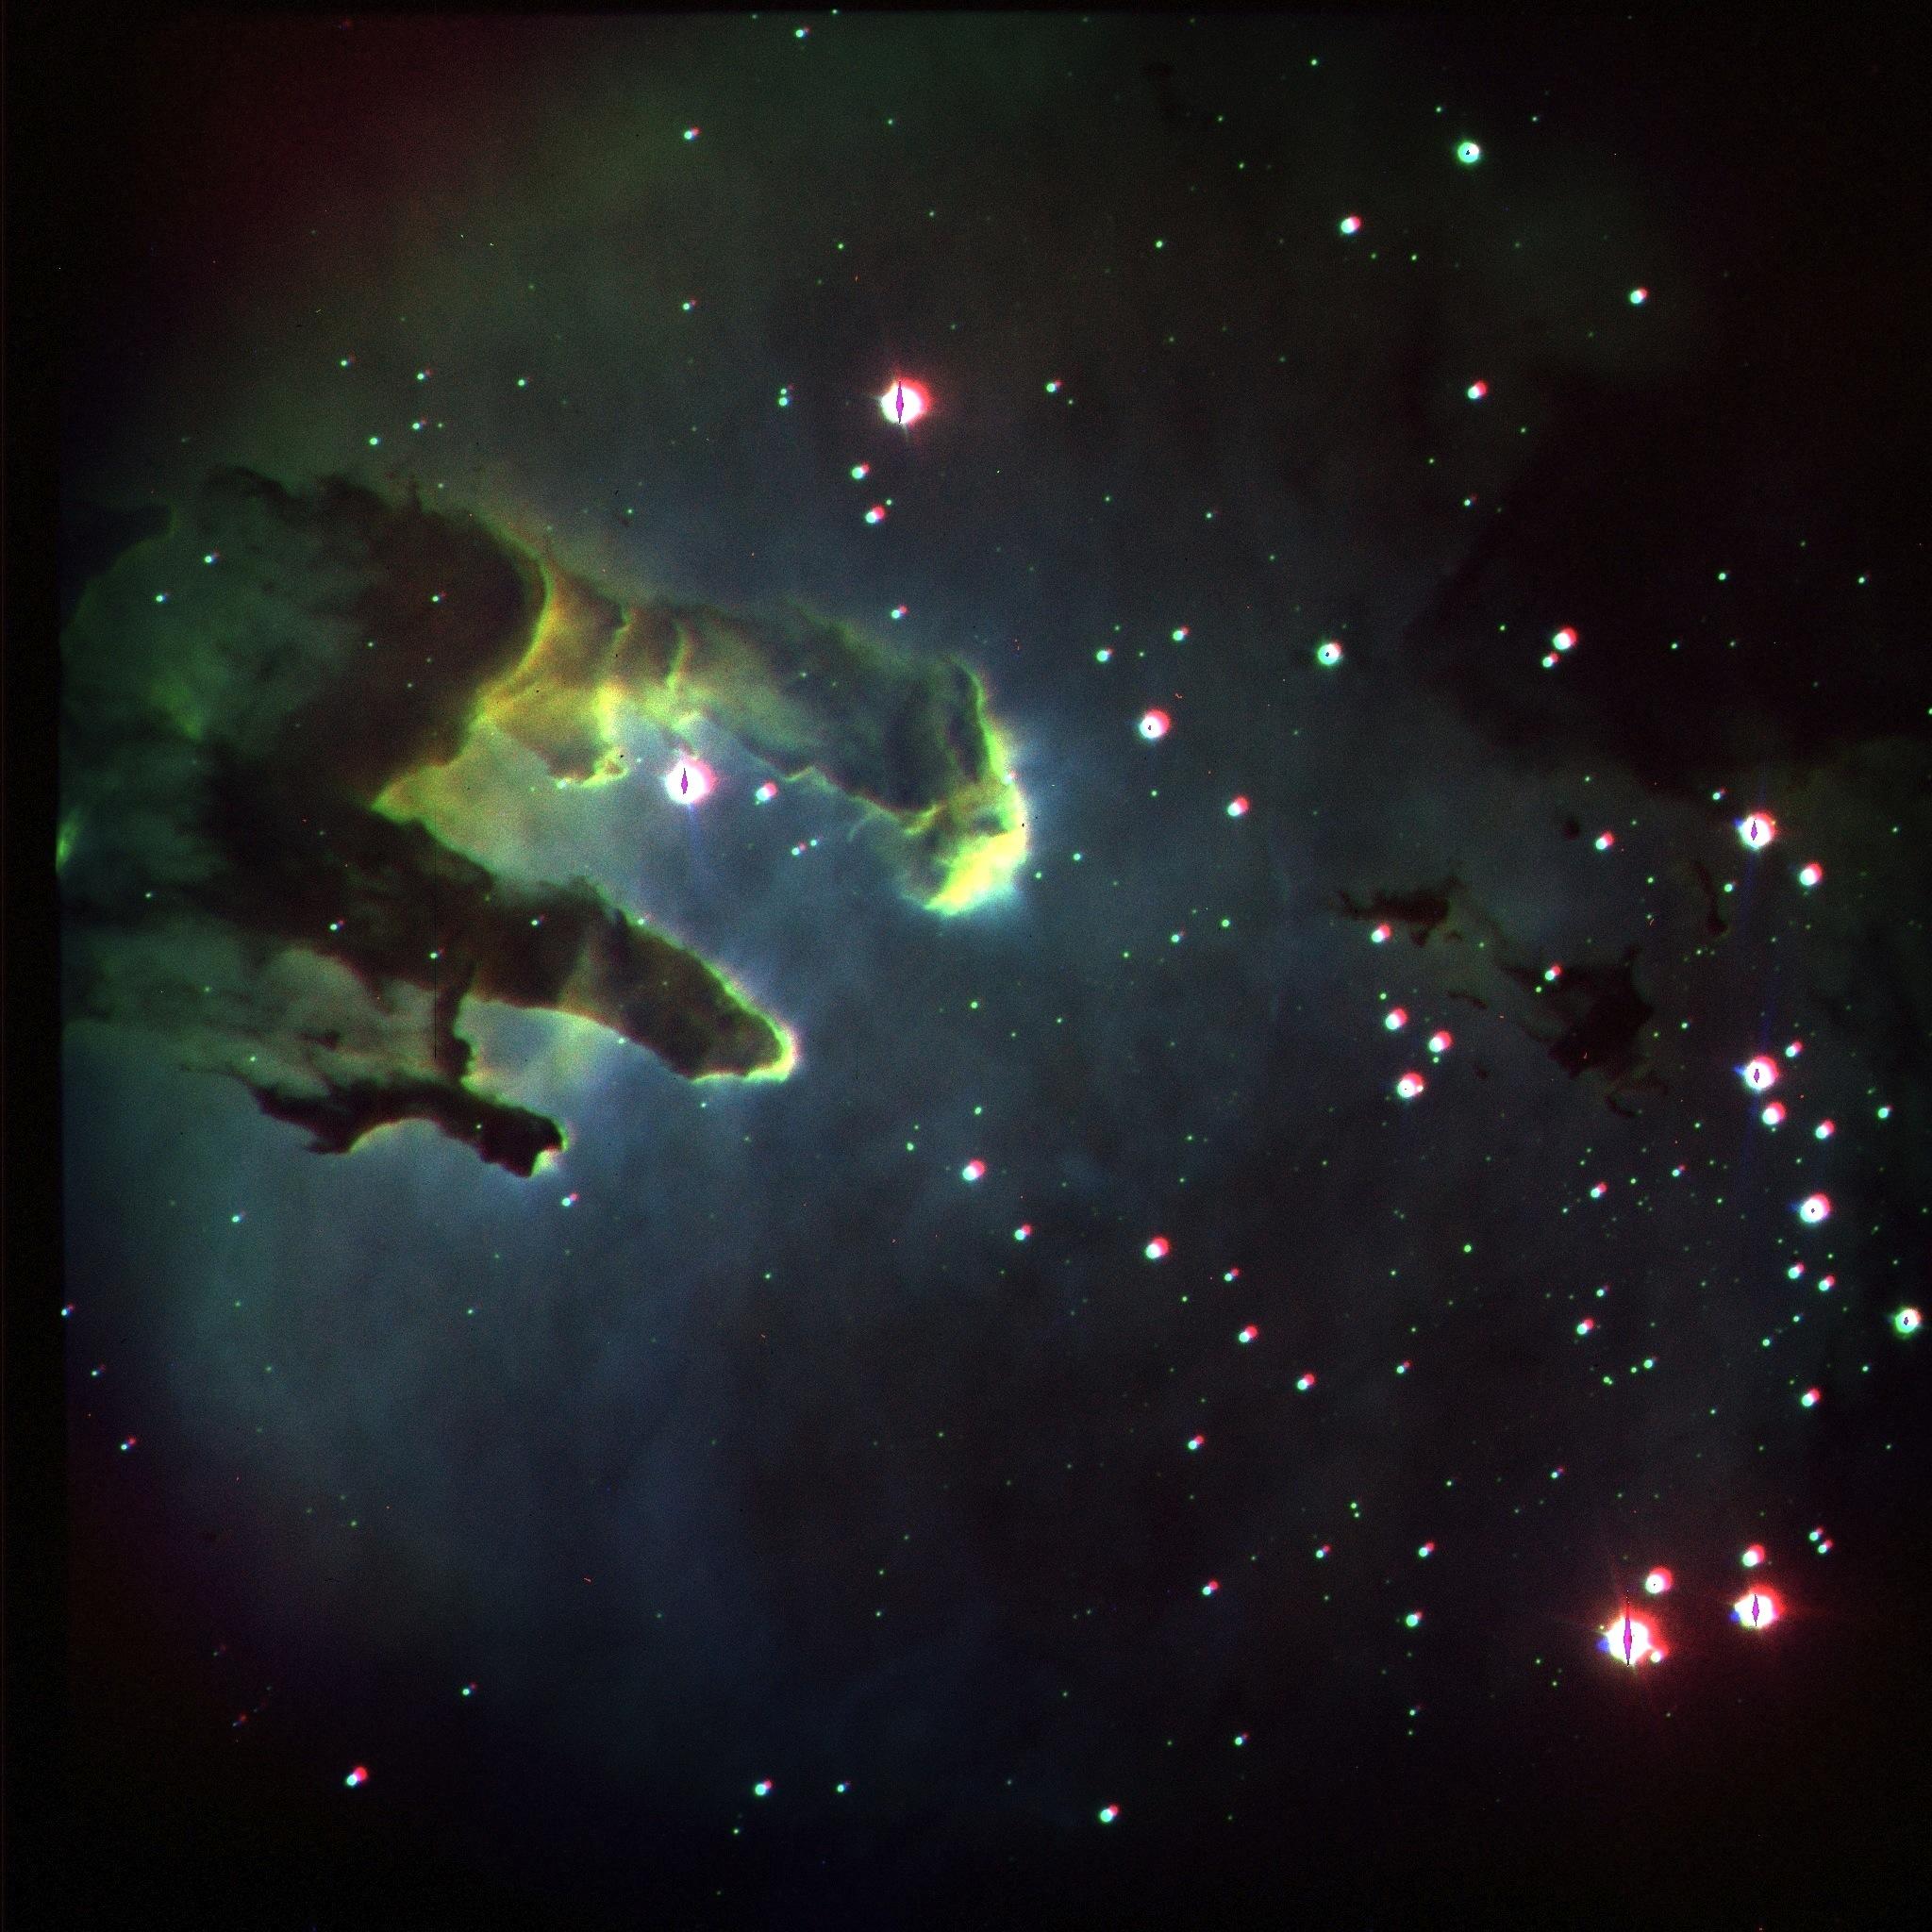
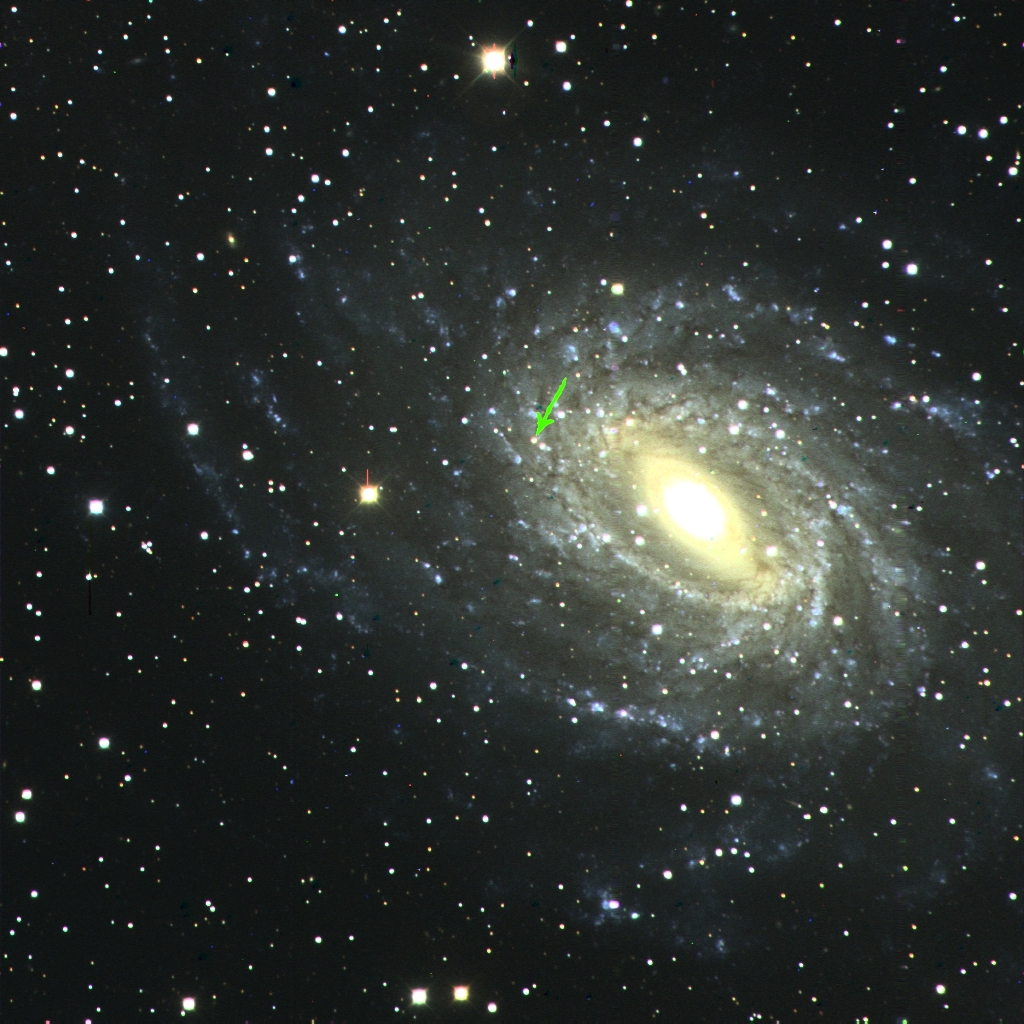
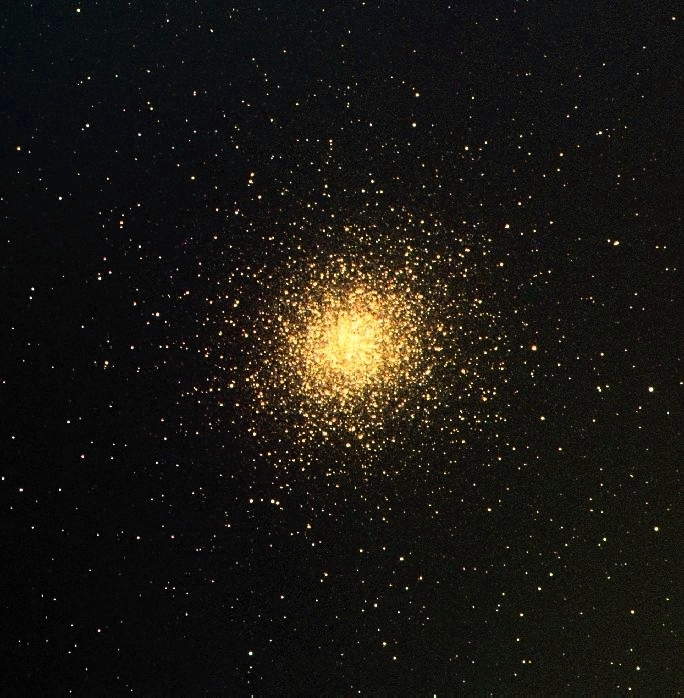
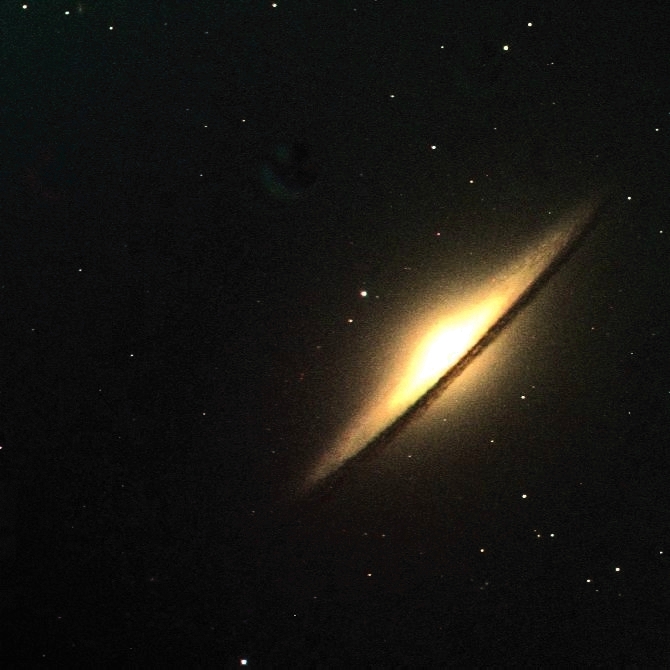
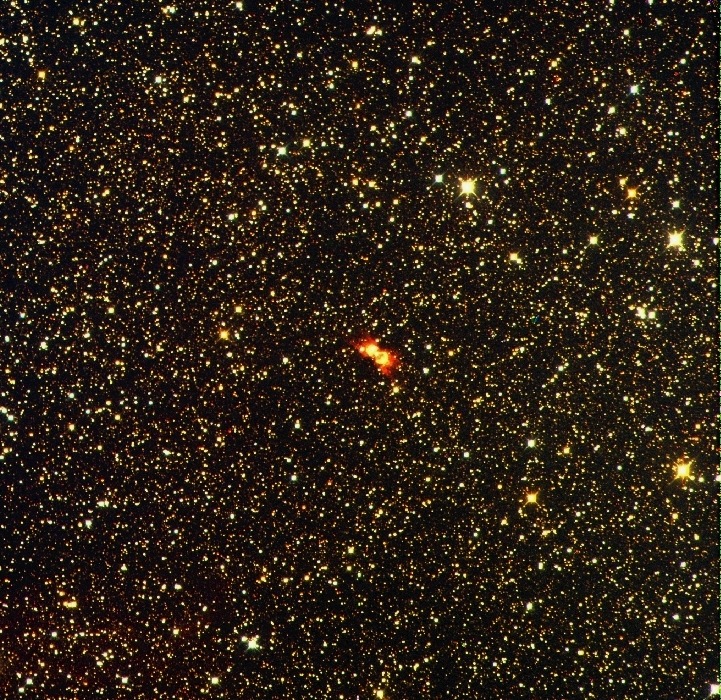
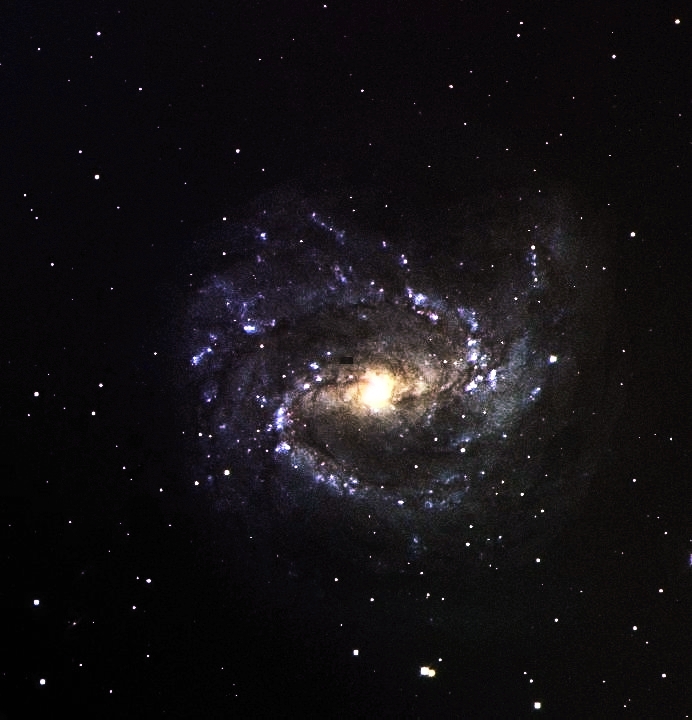
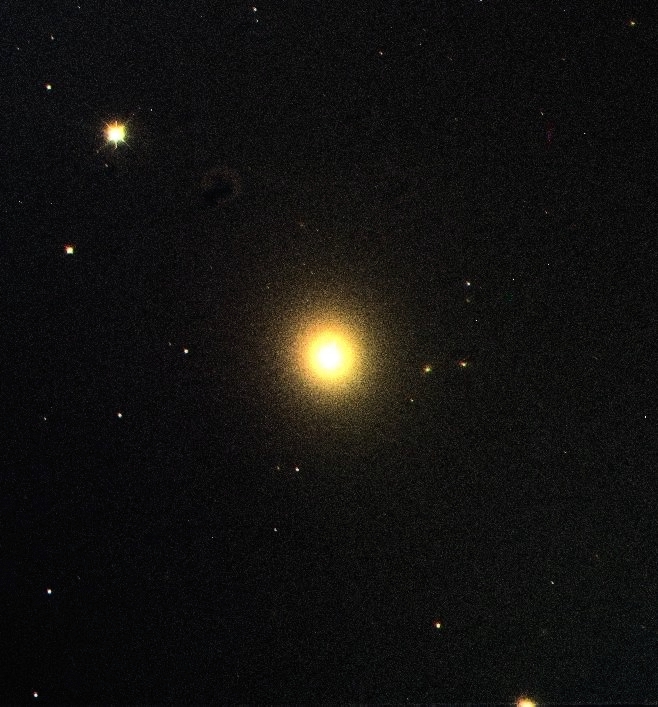
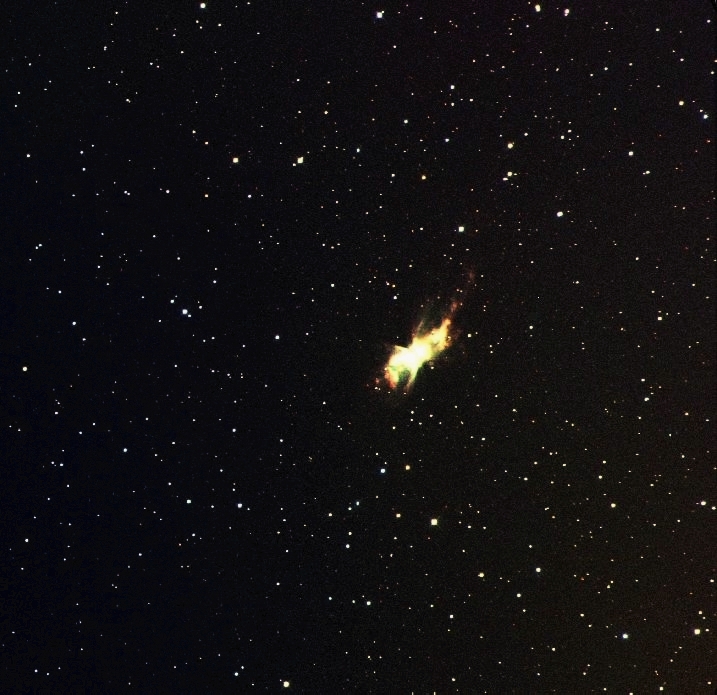
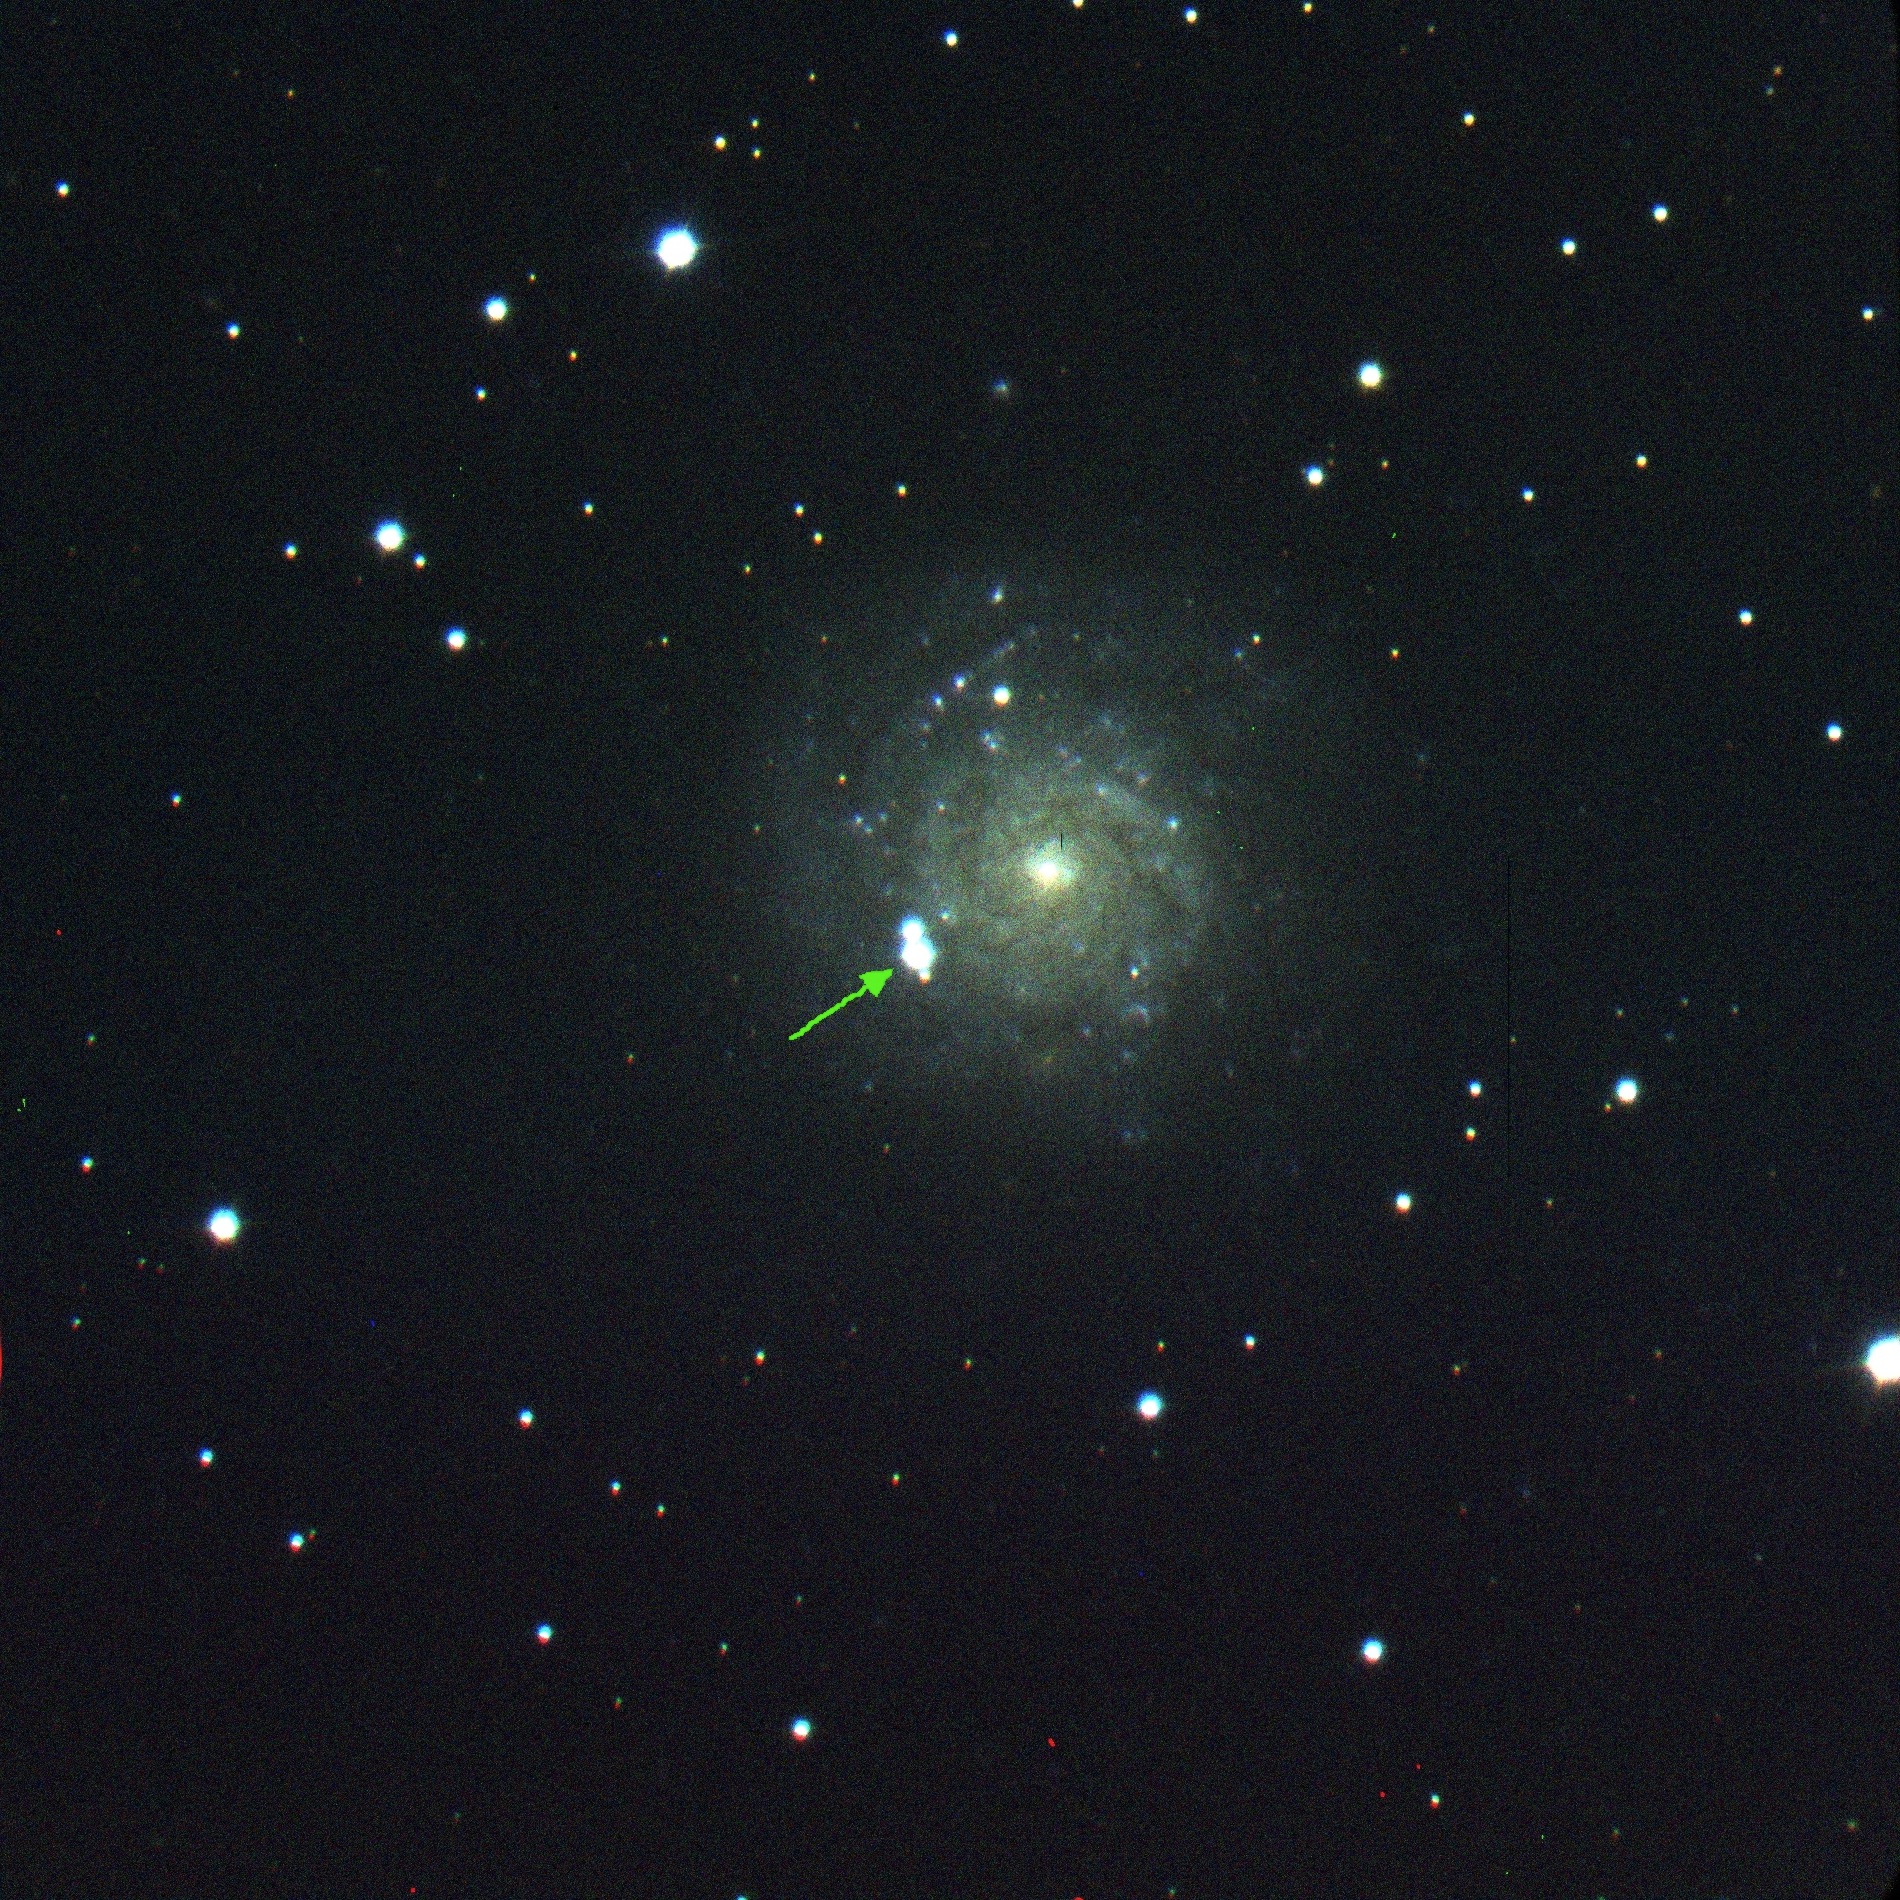
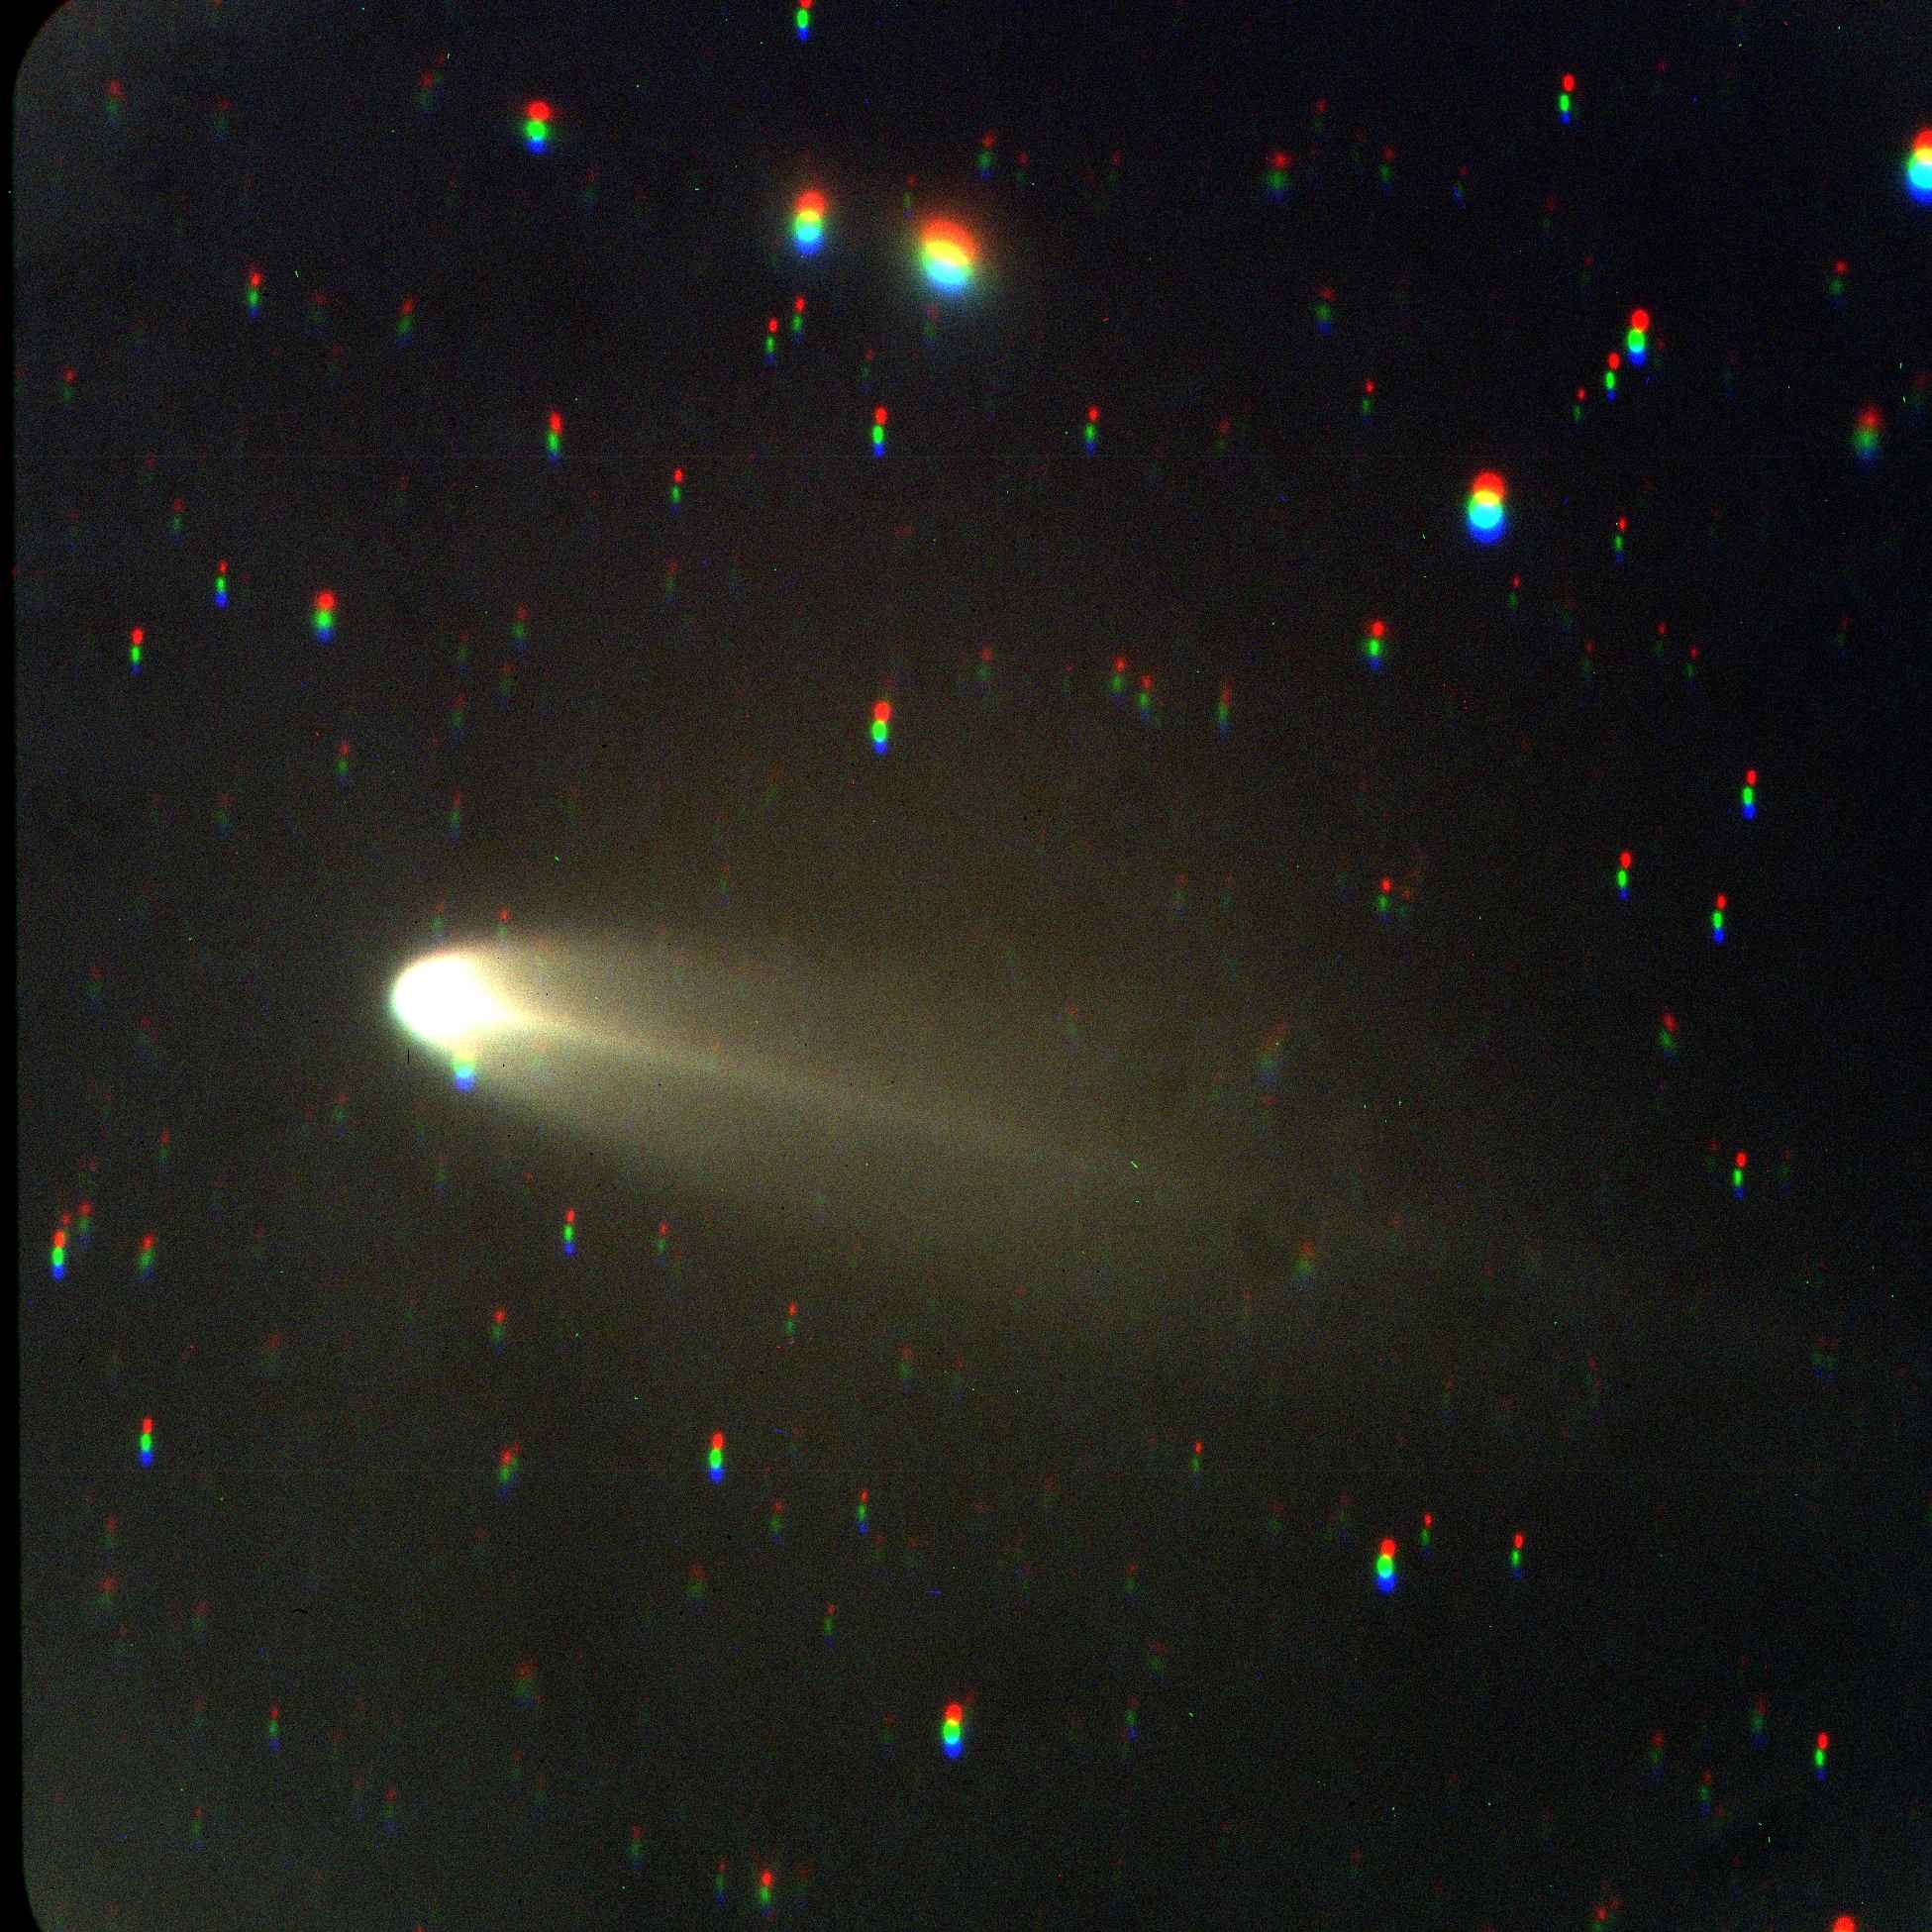
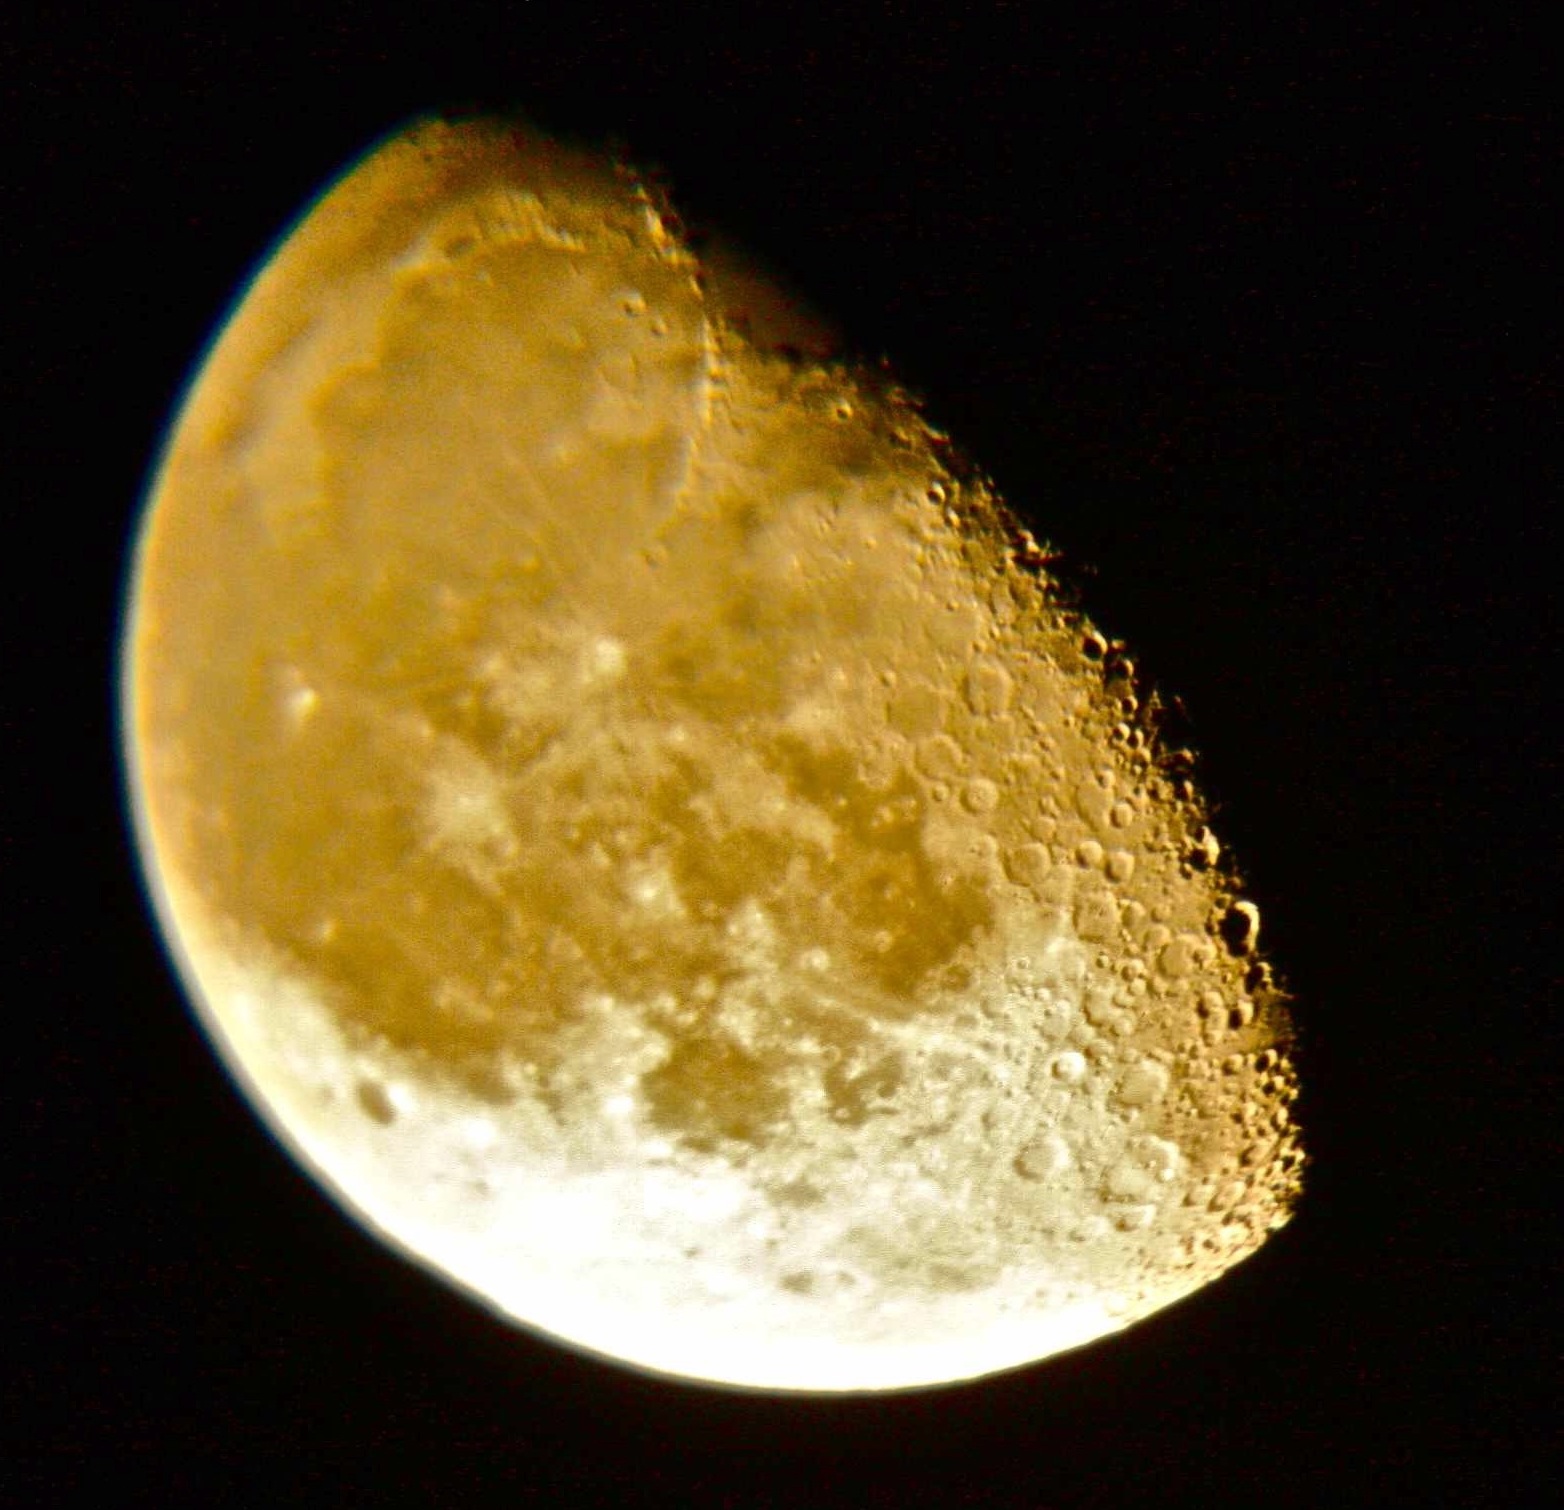
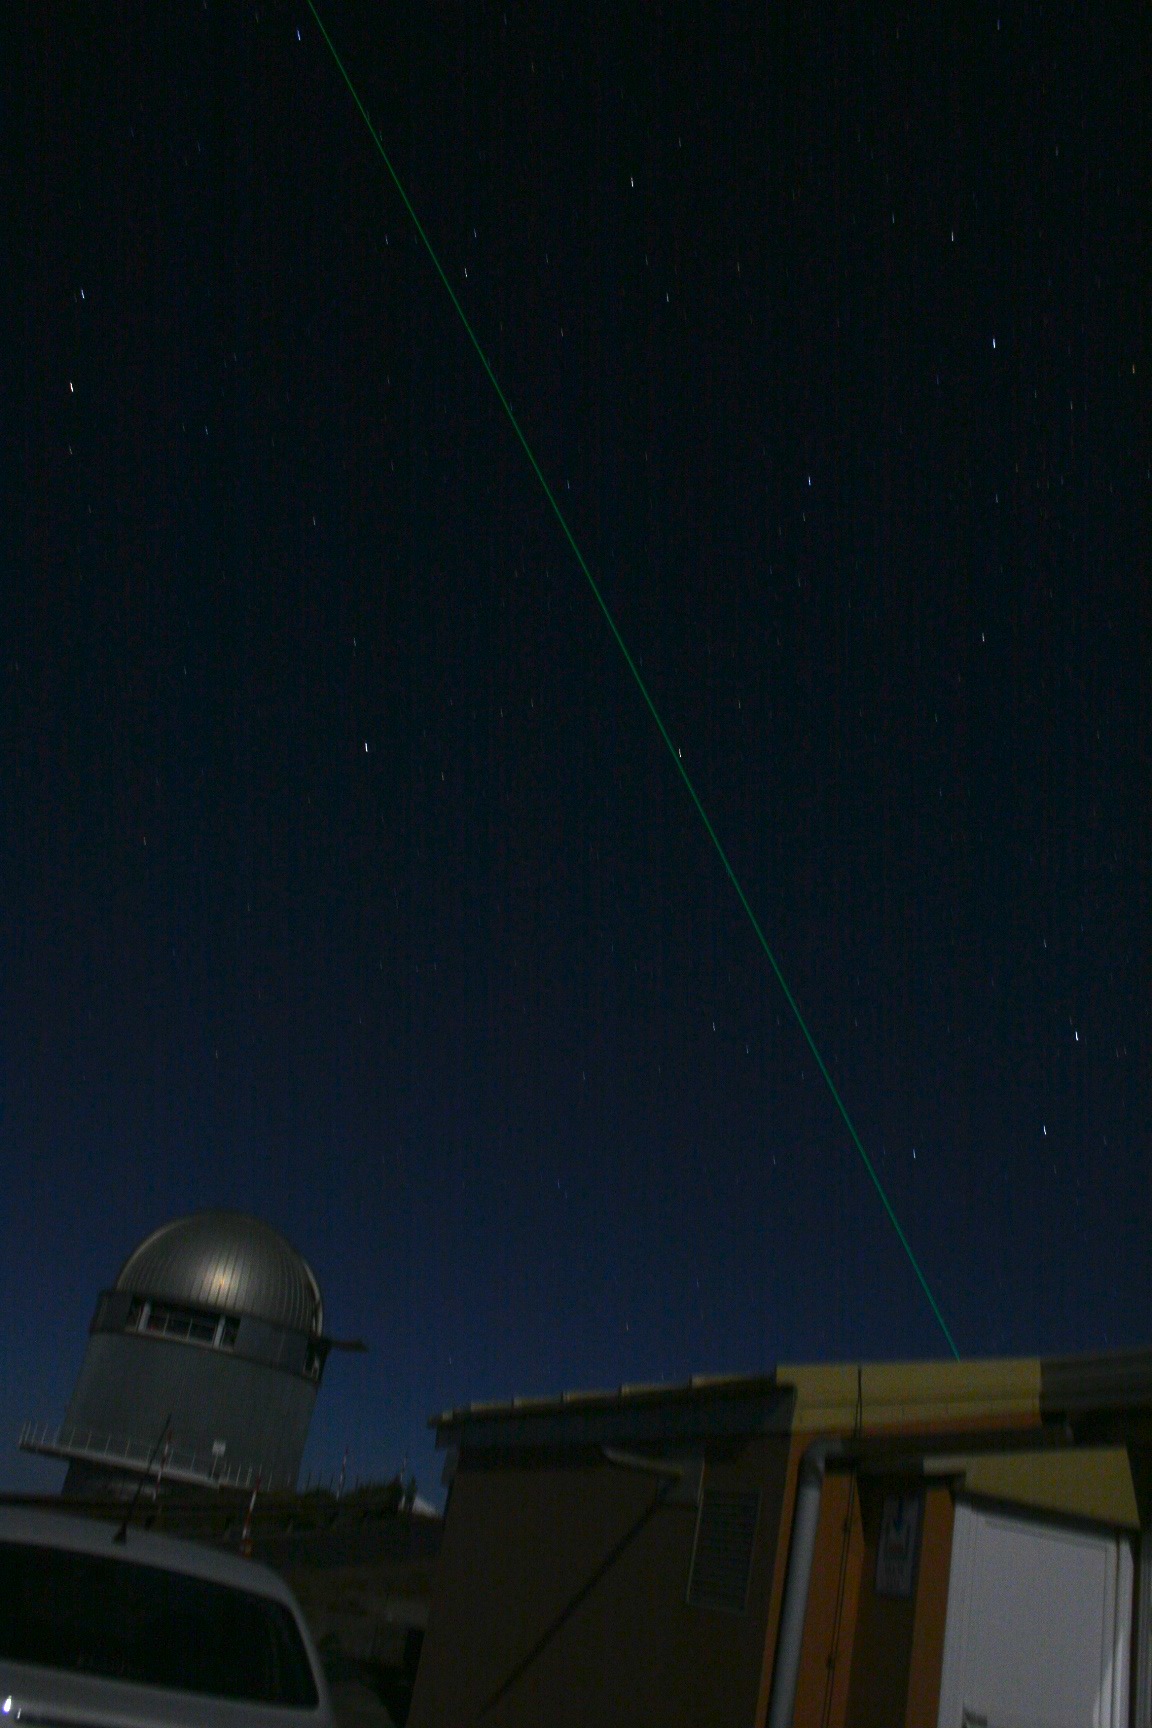
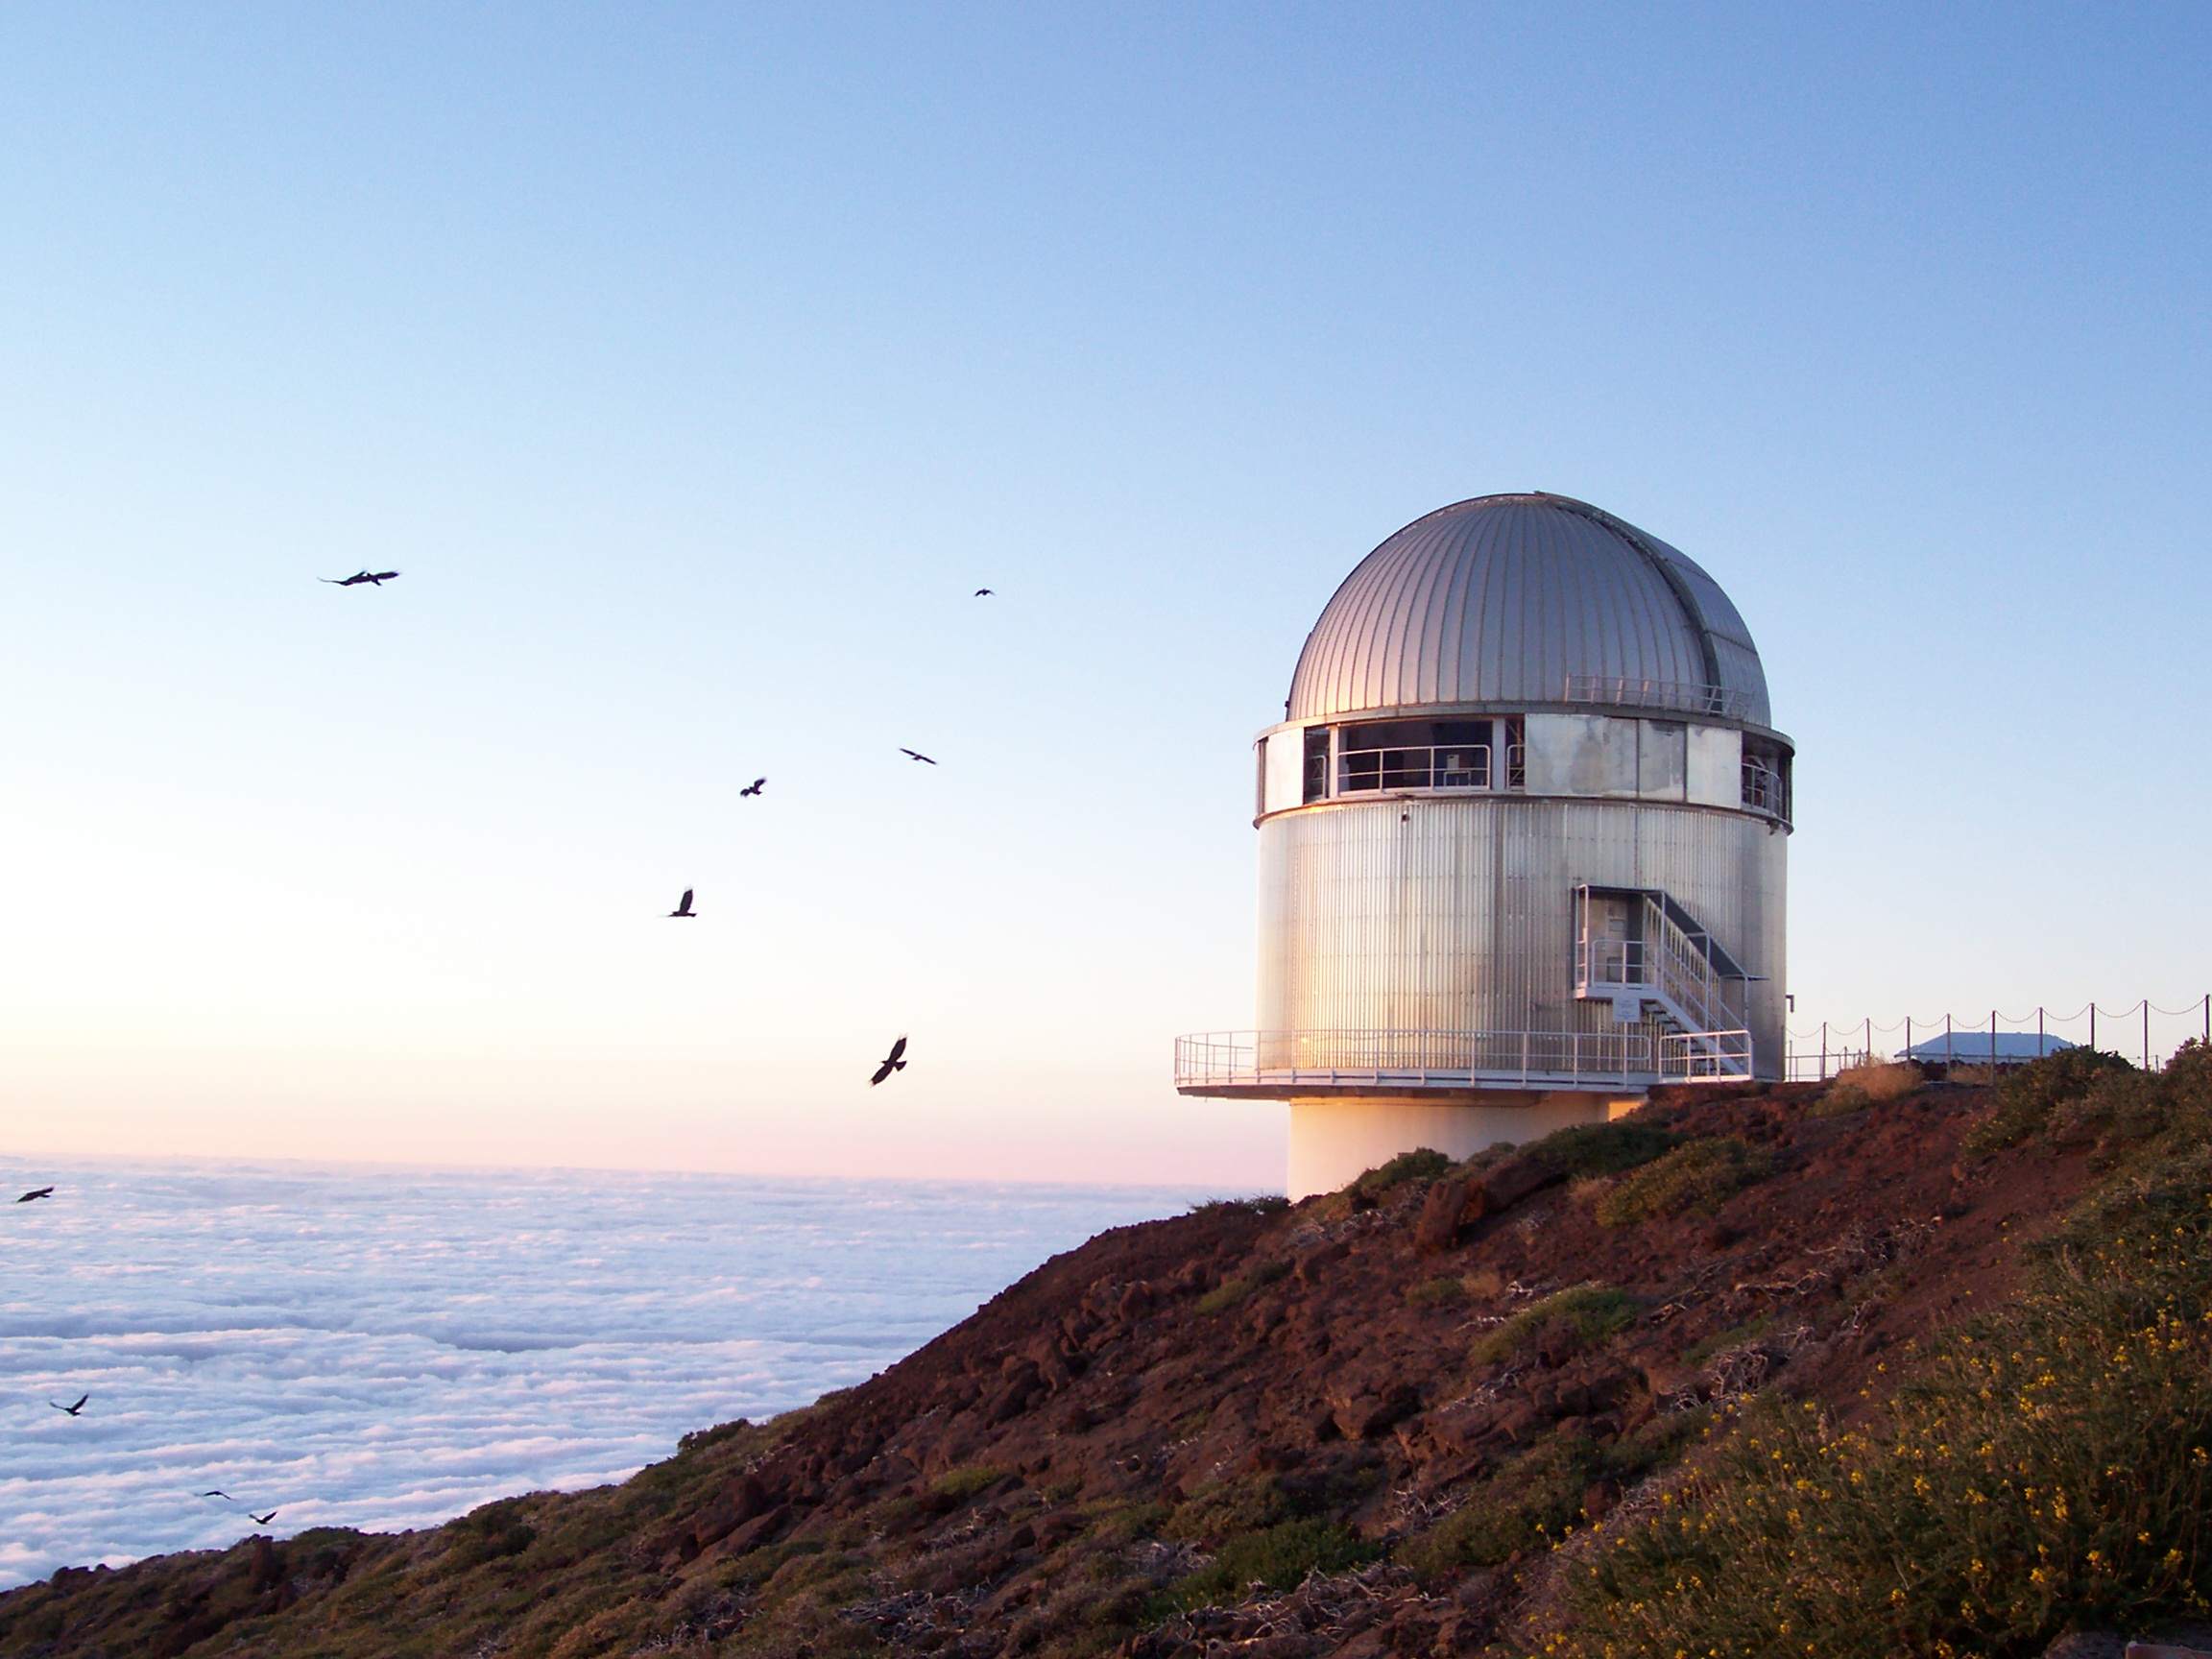
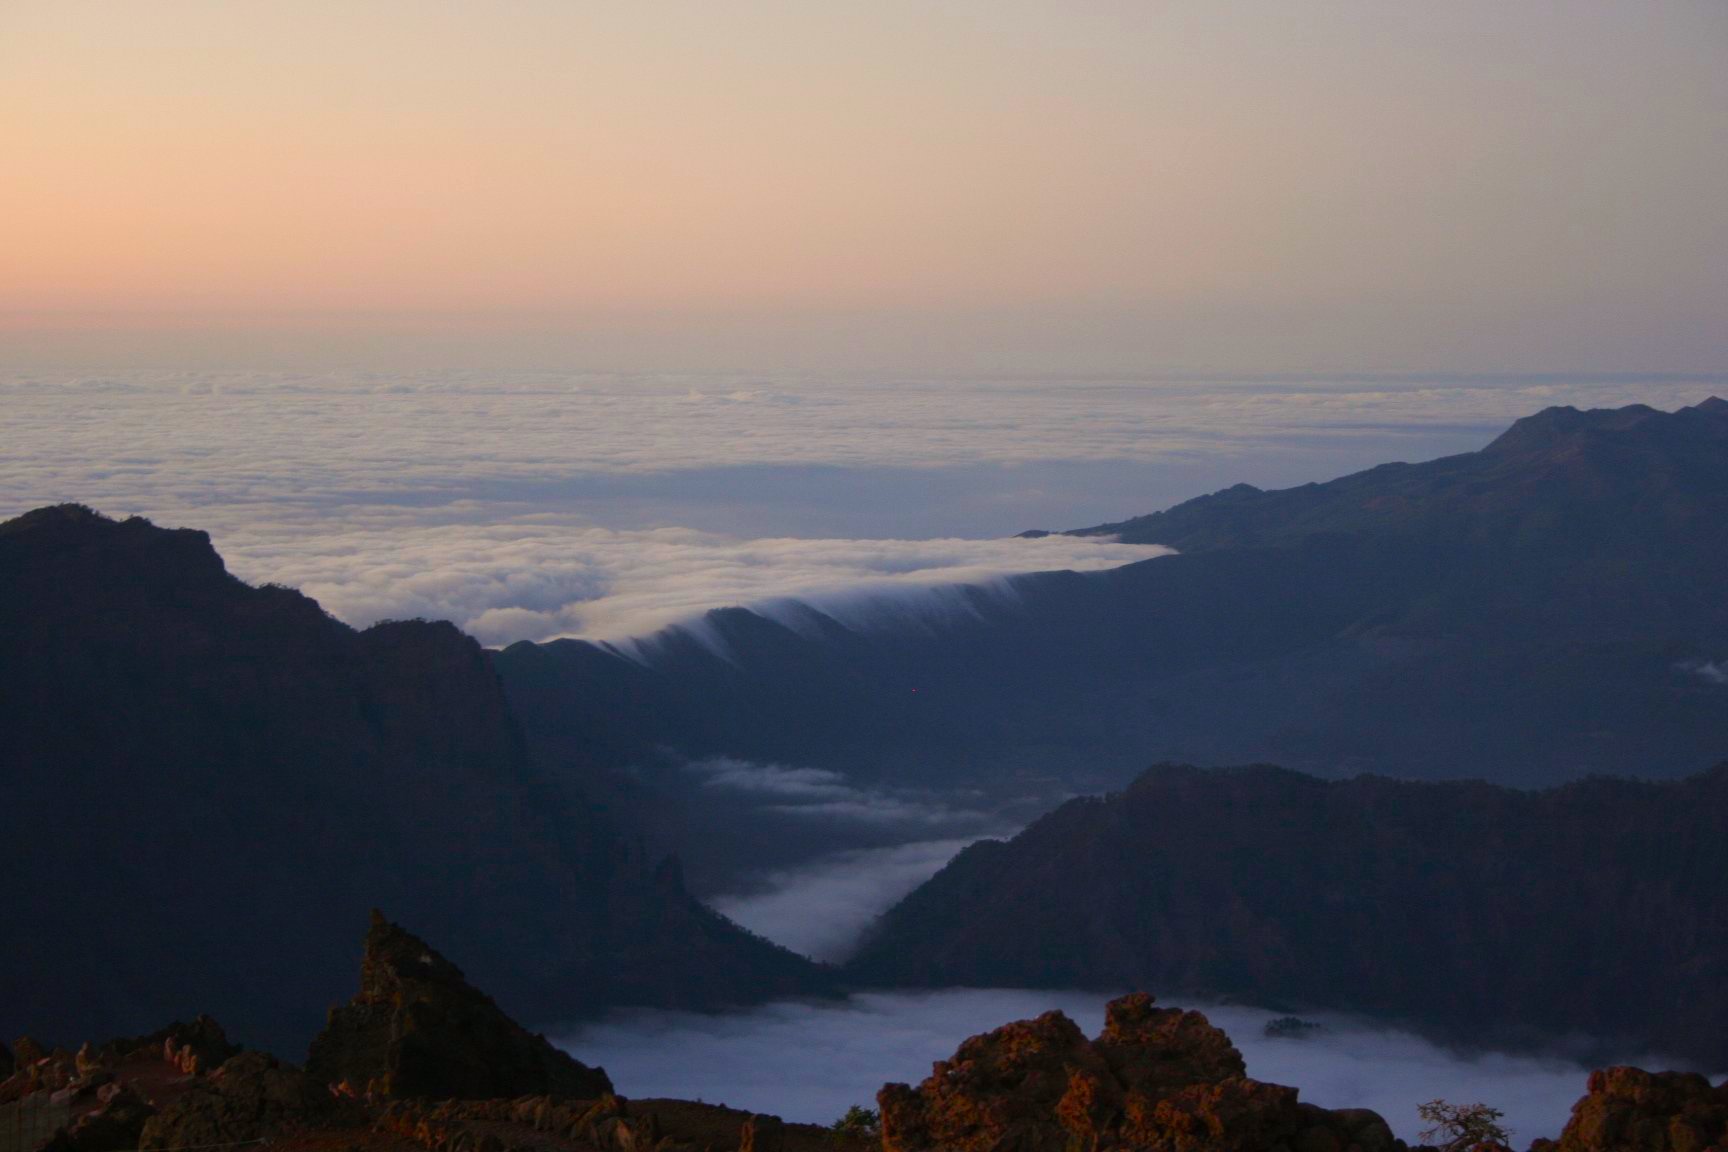
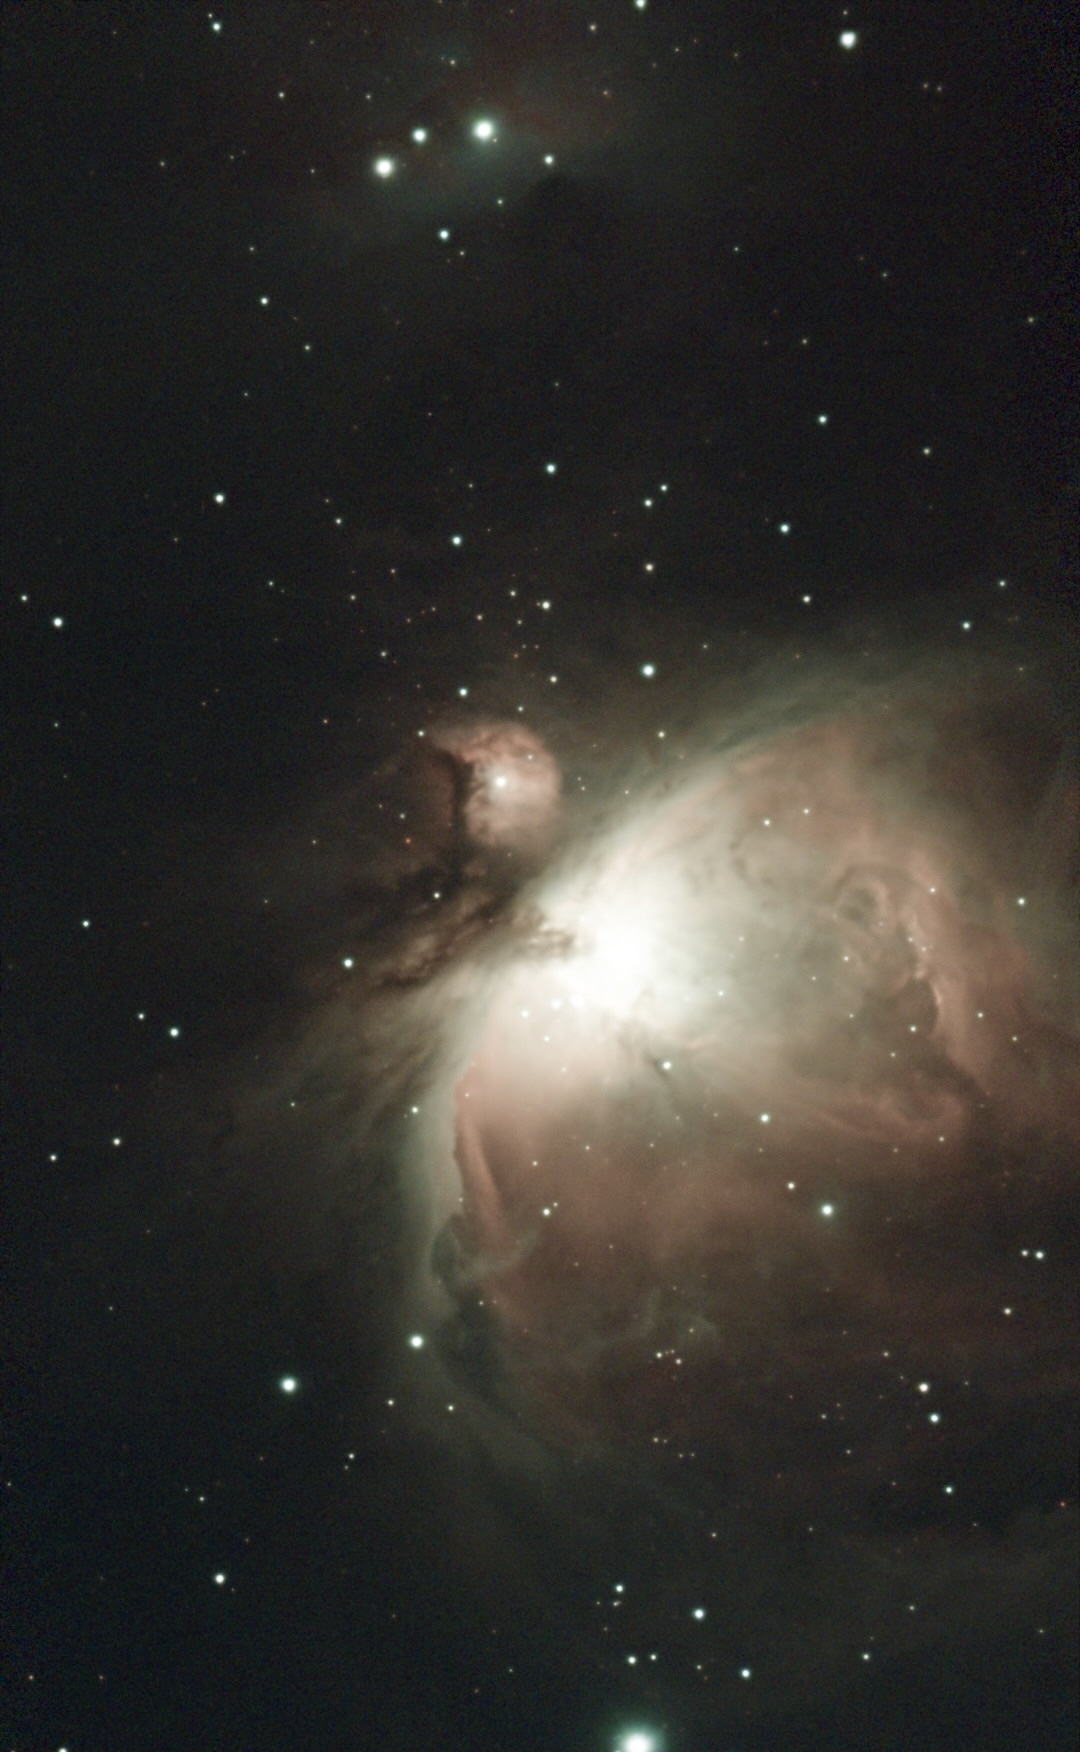
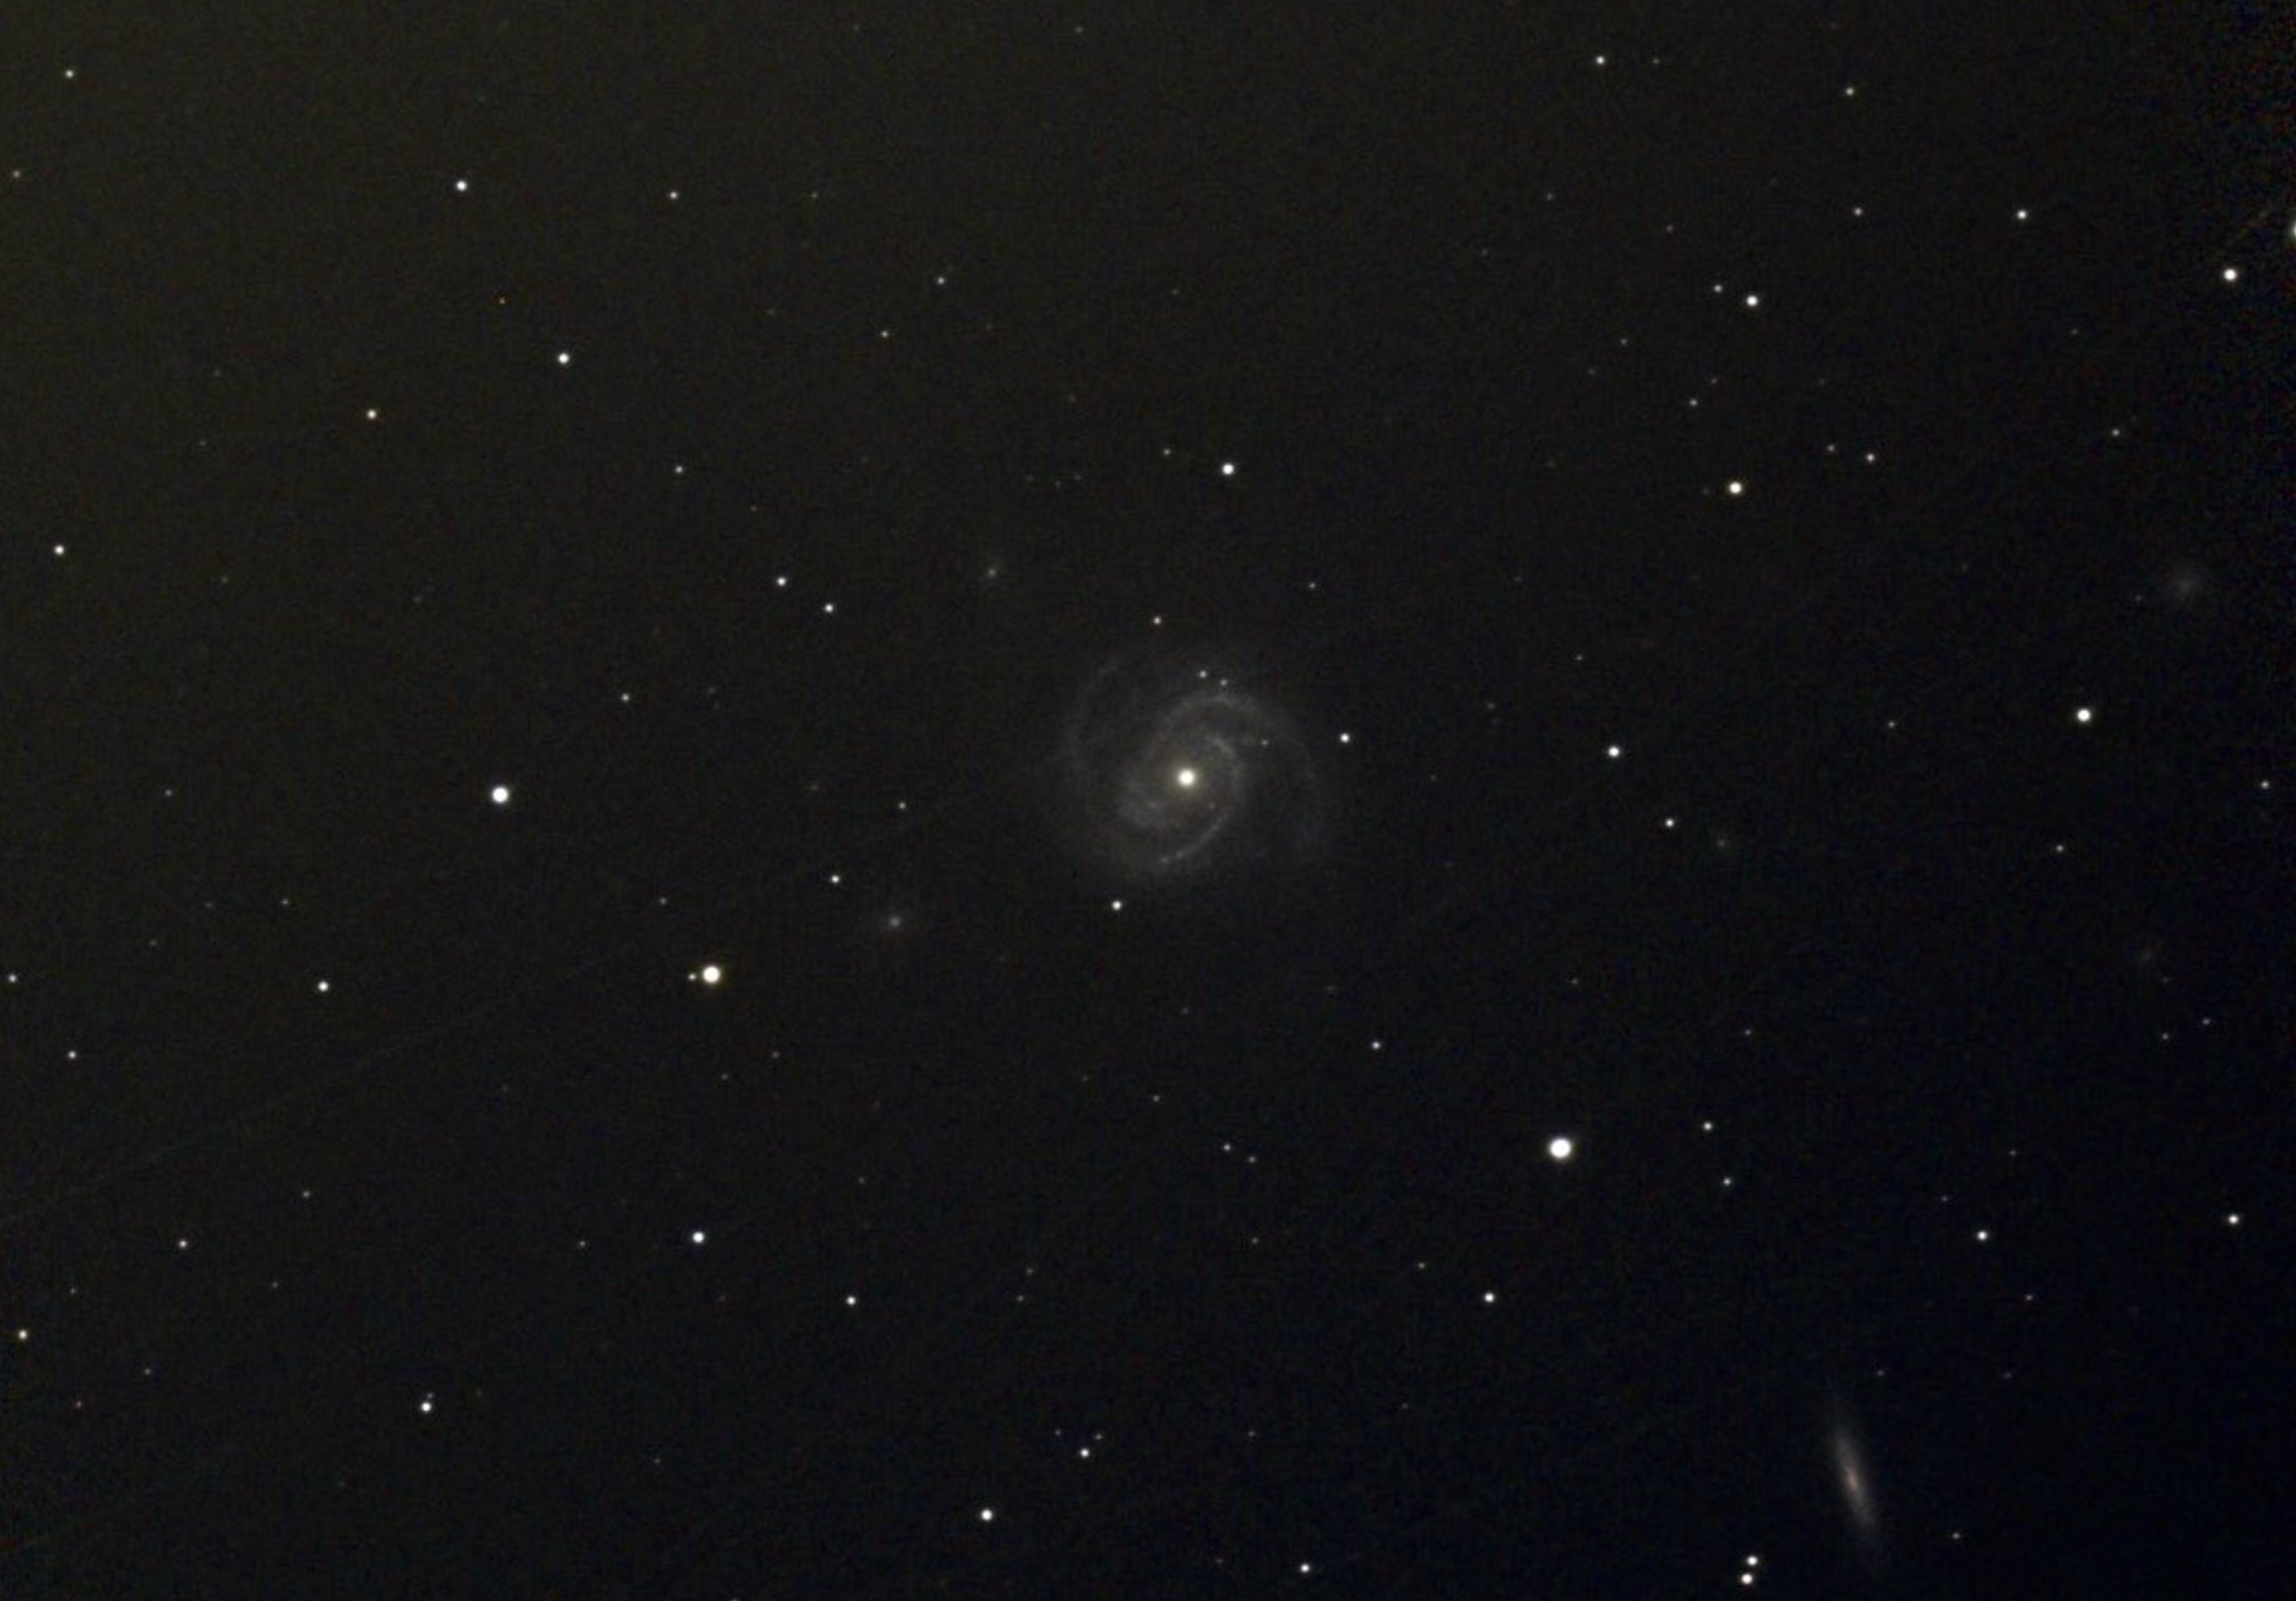
Here are some pretty pictures I took, mostly while observing with the "Danish 1.5 meter" telescope at La Silla, Chile, or the 2.5 meter Nordic Optical Telescope at Roque de los Muchachos, La Palma, but also other telescopes and a few with my camera.
Click an image to see the full image [] or read a bit about the object []. In the bottom of the page you can read about how astronomical images are taken.
The three first are my favorites :)
How are astronomical images taken?
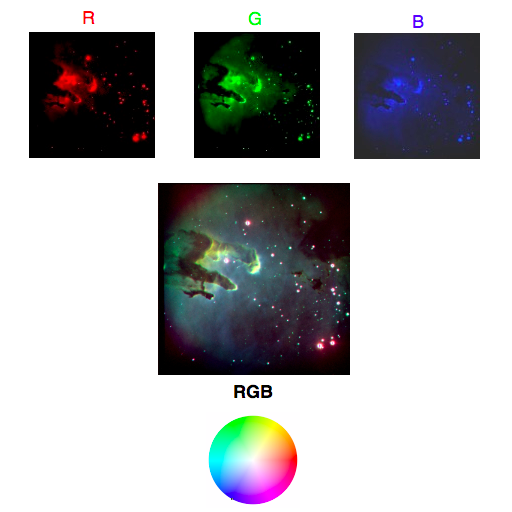
In principle, an image is taken as with a regular camera; however, whereas the light detector in a regular camera has three different types of pixels — sensitive to the colors red (R), green (G) and blue (B) to mimic the eyes' cone cells — cameras in telescopes are sensitive to all photons (in a limited range), and images are hence "black & white".
Usually, astronomers are interested in how much an object emits in a given wavelength range, so before taking an image, a filter is placed in front of the camera. To make pretty color images, three images taken with three different filters are then combined.
In the illustration below, more diffuse light is seen in the B image, leading to bluish light in the combined image. On the other hand, less light is seen at the "surface" of the cloud, leading to less blue light, i.e. more yellow light in the combined image (since yellow is opposite blue in the color space seen in the bottom).